Admin Area > extensions
Custom Dashboard
Learn how to replace the default Dashboard, and implement a custom one.
This feature is available since Webiny v5.40.0.
- how to replace the default Webiny dashboard
Overview
In this article, we show how we can replace the default dashboard in the Webiny Admin app. This is useful when we want to create a custom dashboard that better suits our needs.
Getting Started
To get started, we first scaffold a new Admin extension in the /extensions/adminDashboard folder, via the following command:
yarn webiny extension \
	--type admin \
	--name adminDashboard \
	--dependencies @webiny/app-serverless-cms
Once the extension is scaffolded, in order to start developing, we run the followingwebiny watch command:
yarn webiny watch admin --env dev
Replacing the Default Dashboard
To replace the dashboard, in the extensions/adminDashboard/src/index.tsx file, we place the following code:
import React from "react";
import { Dashboard, useSecurity } from "@webiny/app-serverless-cms";

// We create a new decorator called MyDashboard
const MyDashboard = Dashboard.createDecorator(() => {
  return function MyDashboard() {
    const { identity } = useSecurity();

    return (
      <div style={{ padding: 50, textAlign: "center" }}>
        <h3>Hi, {identity?.displayName}!</h3>
      </div>
    );
  };
});

export const Extension = () => (
  <>
    <MyDashboard />
  </>
);
As we can see, we first define the MyDashboard React component, which is actually the decorated version of the original Dashboard component, imported from the @webiny/app-serverless-cms package.
Note that, when we say decorated, we basically mean that the component has been wrapped with another component, which ultimately affects the functionality of the wrapped component, or, the decoratee.
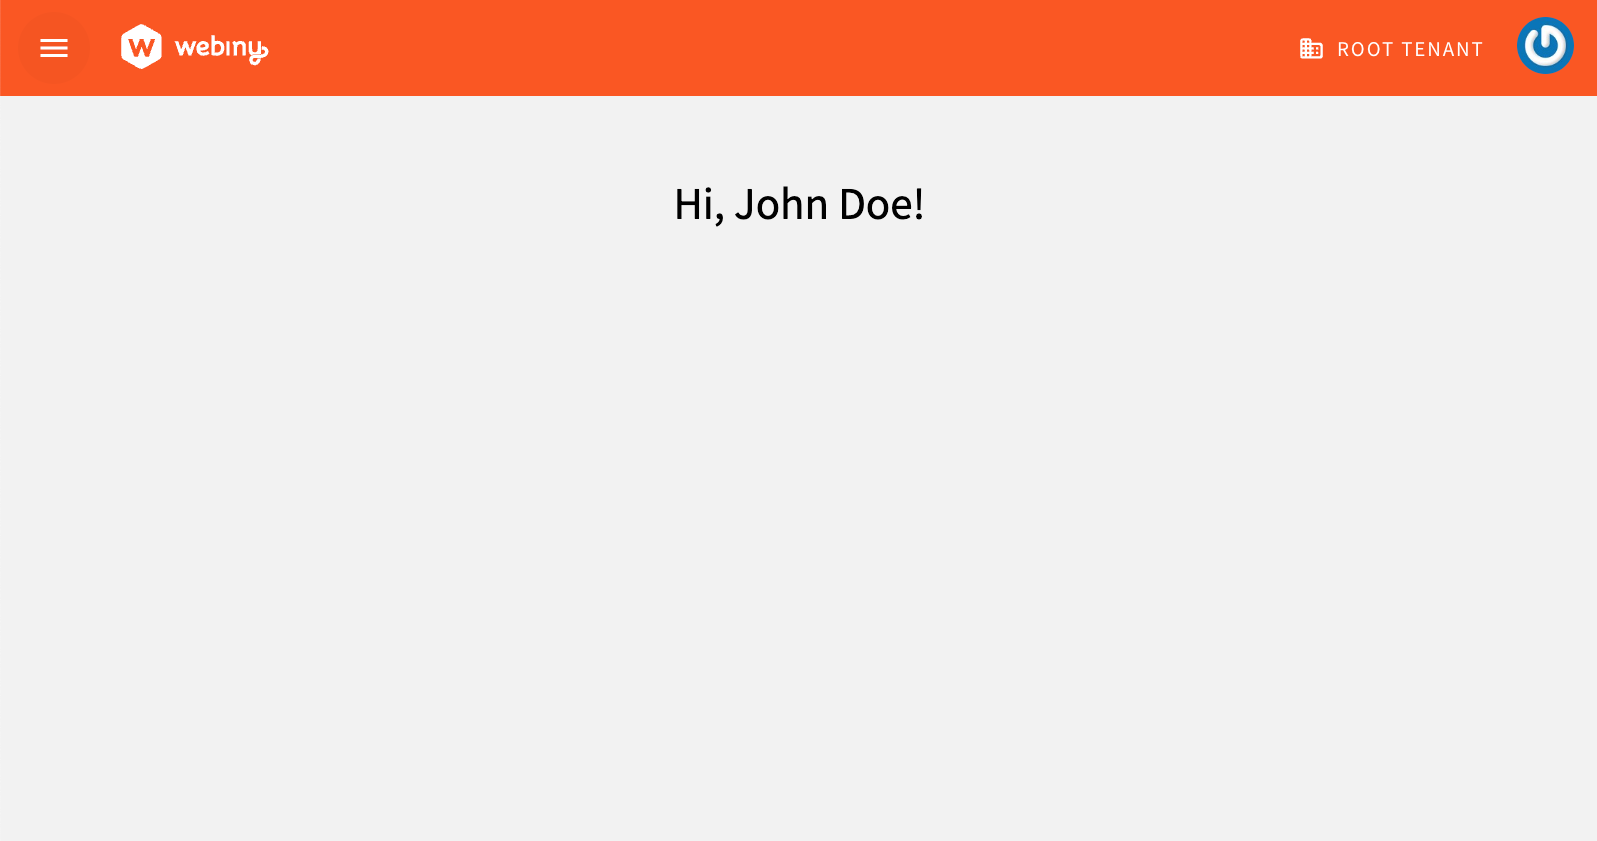
In our case, we are replacing the default Dashboard component that renders the default dashboard, with our own, which just renders a simple greeting message.
To retrieve the currently logged in Admin user, we’ve also used the useSecurity React hook. As we can see, the hook lets us easily retrieve the currently logged-in identity, whose name we’re displaying on our custom dashboard.
 Custom Dashboard