Admin Area > extensions
Change Logo
Learn how to replace the default logo with your own.
In order to follow this guide, you must use Webiny version 5.40.0 or greater.
- how to replace the default Webiny logo with your own React component
Overview
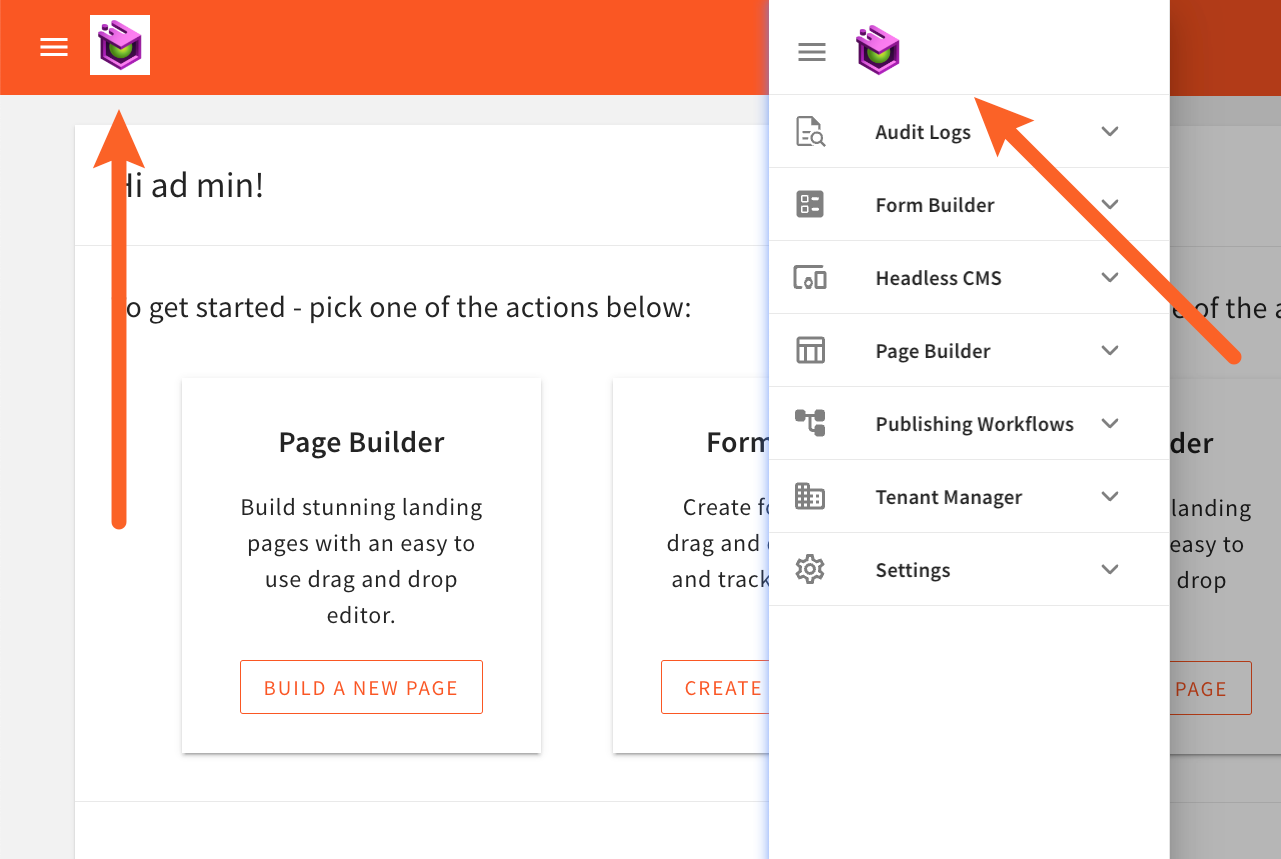
In this article, we cover how to replace the default Webiny logo that is shown in the Admin app’s header bar and the navigation drawer, with our own logo.
Getting Started
Run the following command to quickly set up the extension in your Webiny project:
yarn webiny extension admin-logo
Alternatively, continue reading this article to learn how to create this extension from scratch.
To get started, we first scaffold a new Admin extension in the /extensions/adminLogo folder, via the following command:
yarn webiny extension \
	--type admin \
	--name adminLogo \
	--dependencies @webiny/app-serverless-cms
Once the extension is scaffolded, in order to start developing, we run the followingwebiny watch command:
yarn webiny watch admin --env dev
Replace the Logo
To replace the logo, in the extensions/adminLogo/src/index.tsx file, we place the following code:
import React from "react";
import { AddLogo } from "@webiny/app-serverless-cms";

import logoPng from "./logo.png";

export const Extension = () => {
  return (
    <>
      <AddLogo logo={<img src={logoPng} height={40} width={40} />} />
    </>
  );
};
As we can see, to replace the logo, we’ve utilized the AddLogo React component, which is provided by the @webiny/app-serverless-cms package. The AddLogo component accepts a logo prop, which is a React component that will be rendered in place of the default Webiny logo.
For this example, we’ve used the logo.png file, which is located in the same directory as the index.tsx file. We can replace it with your own logo.
With this code in place, in the Admin app, the default Webiny logo will be replaced with the logo you’ve provided.
 Different Logos In Header Bar and Navigation Drawer
Using Different Logos
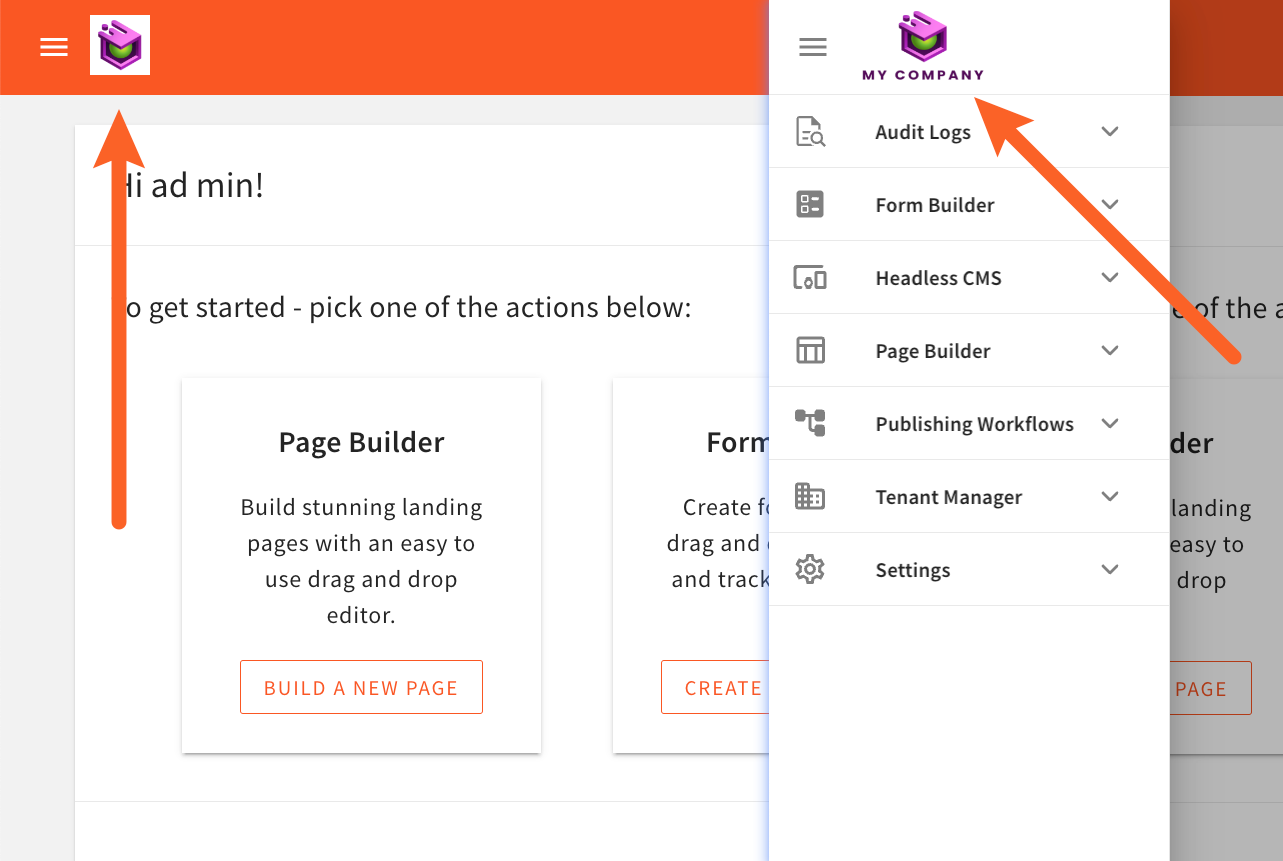
In some cases, you might want to provide different logos for the header bar and the navigation drawer, for example:
 Different Logos In Header Bar and Navigation Drawer
To achieve this, we can use the useTags hook, which is also provided by the @webiny/app-serverless-cms package:
import React from "react";
import { AddLogo, useTags } from "@webiny/app-serverless-cms";

// Import your logo image
import logoPng from "./logo.png";
import logoNavigationPng from "./logo-navigation.png";

const MyLogo = () => {
  // Fetch tags from context.
  const { location } = useTags();

  // "location" is a tag with a value of "navigation", if your
  // logo is currently being rendered inside the navigation drawer.
  if (location === "navigation") {
    return <img src={logoNavigationPng} height={50} width={100} />;
  }

  return <img src={logoPng} height={40} width={40} />;
};

export const Extension = () => (
  <>
    <AddLogo logo={<MyLogo />} />
  </>
);
As we can see, this time, we’ve created a new MyLogo component, which uses the useTags hook to determine whether the logo is being rendered in the header bar or the navigation drawer. If the logo is being rendered in the navigation drawer, we return the logoNavigationPng image; otherwise, we return the logoPng image.