Security > Extensions
Programmatically Create Roles and Teams
Learn how to define roles and teams programmatically.
Overview
Roles and teams can be defined in two ways.
Via the Admin Area
The most straightforward way to define roles and teams would be via the Admin Area application, via the Roles and Teams modules. This is especially suitable for users that are not developers, and just want to manage everything in a quick and easy way.
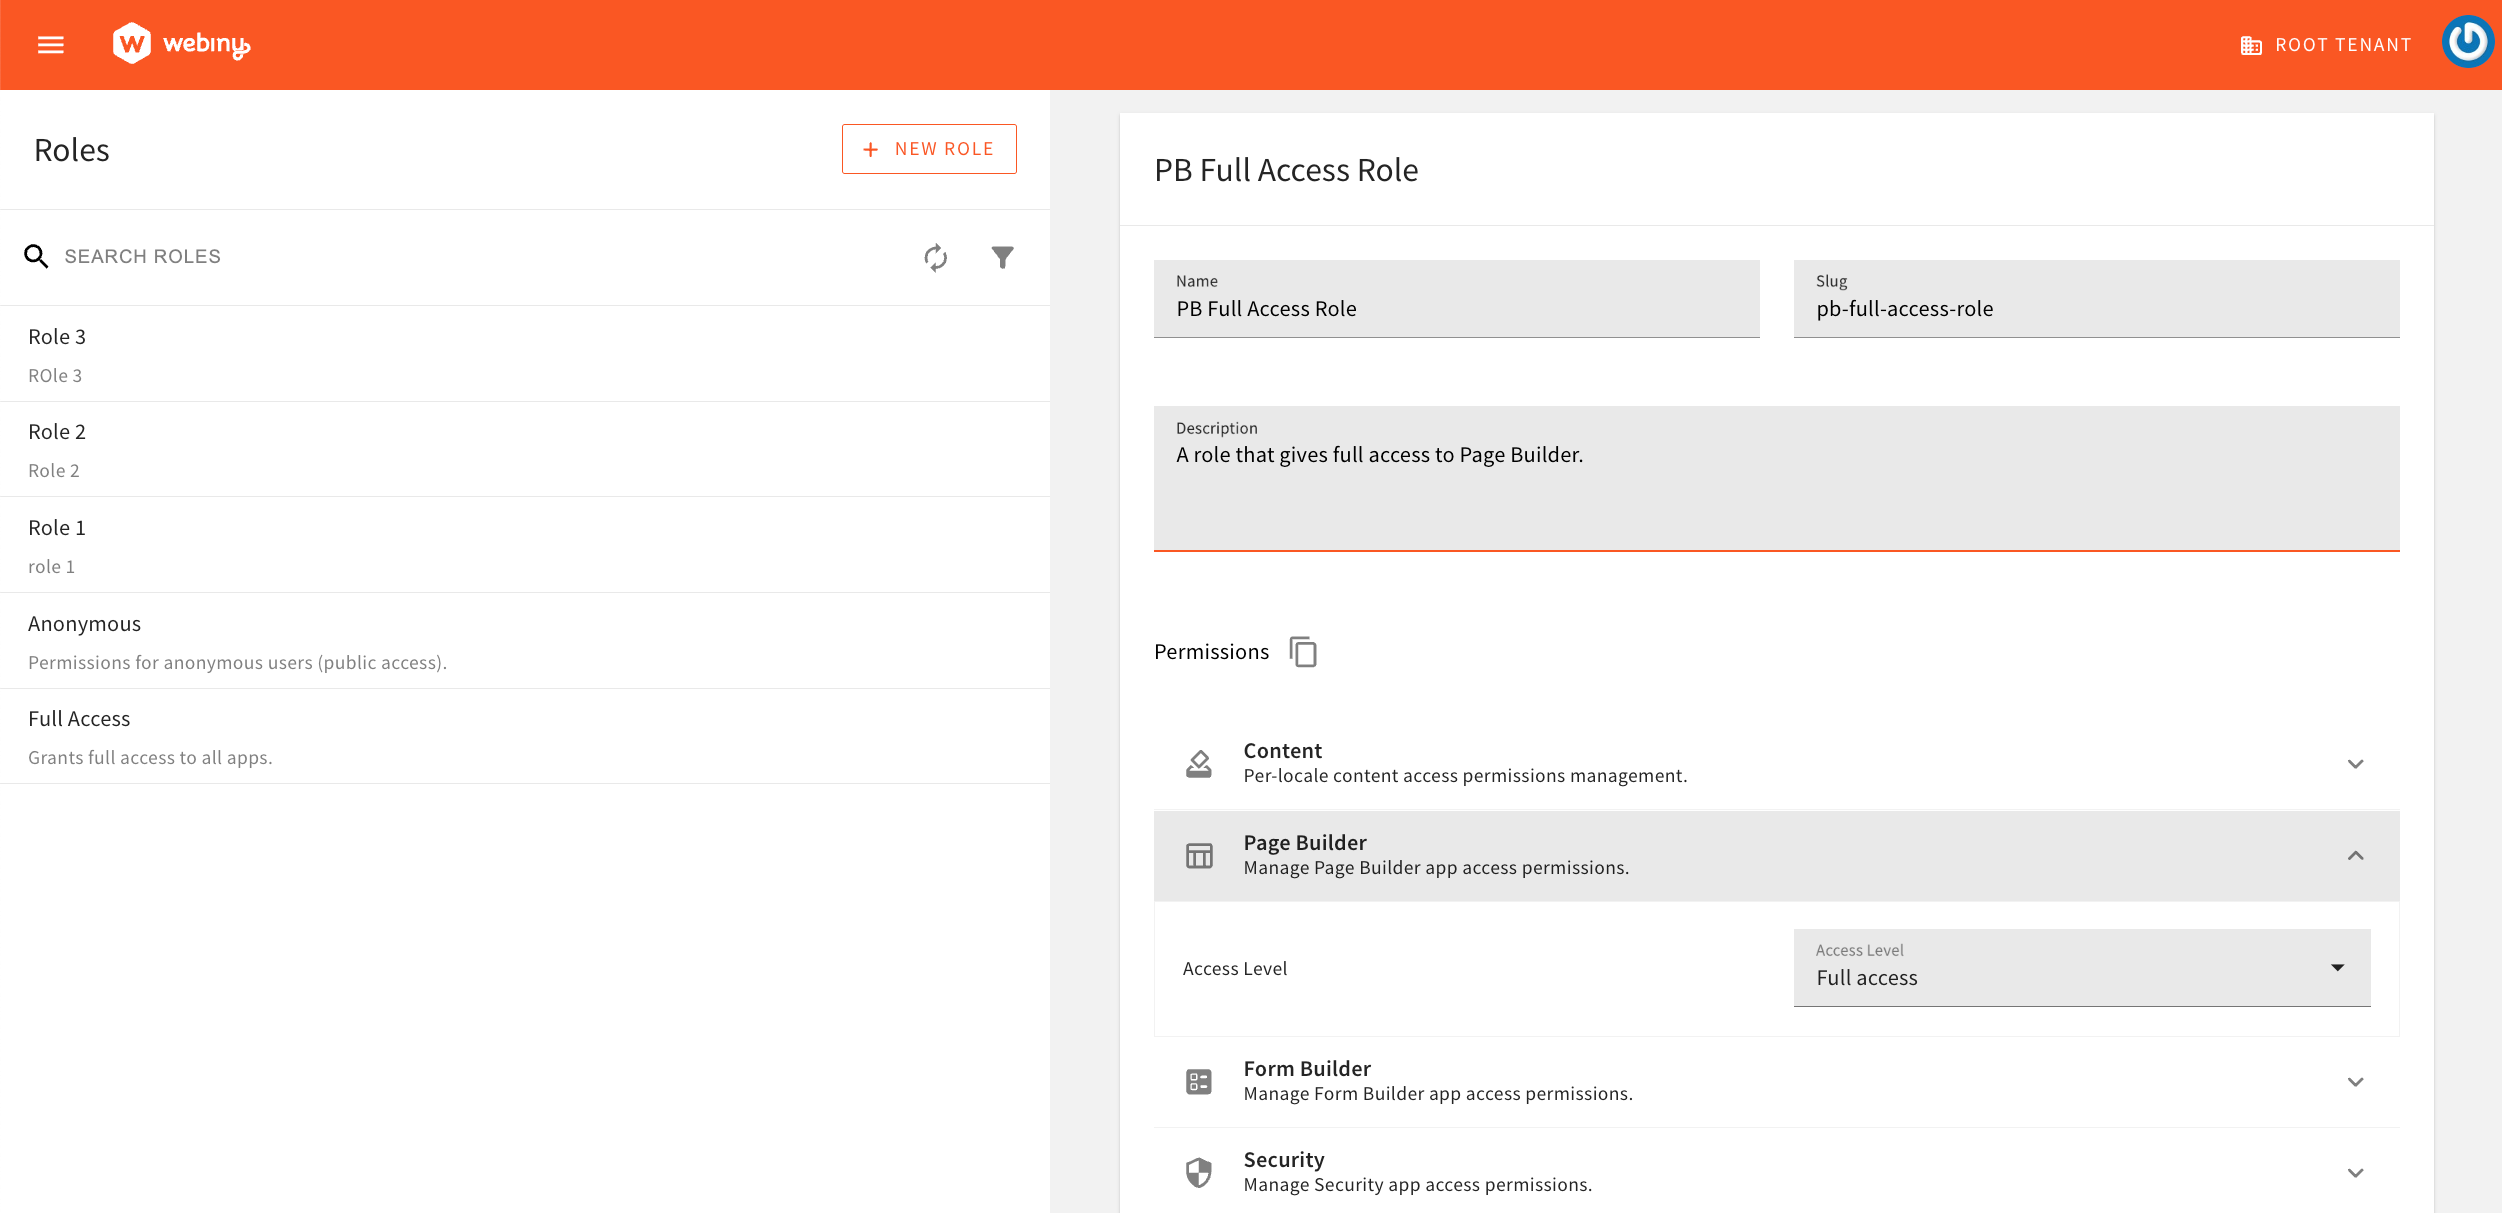 Roles Module
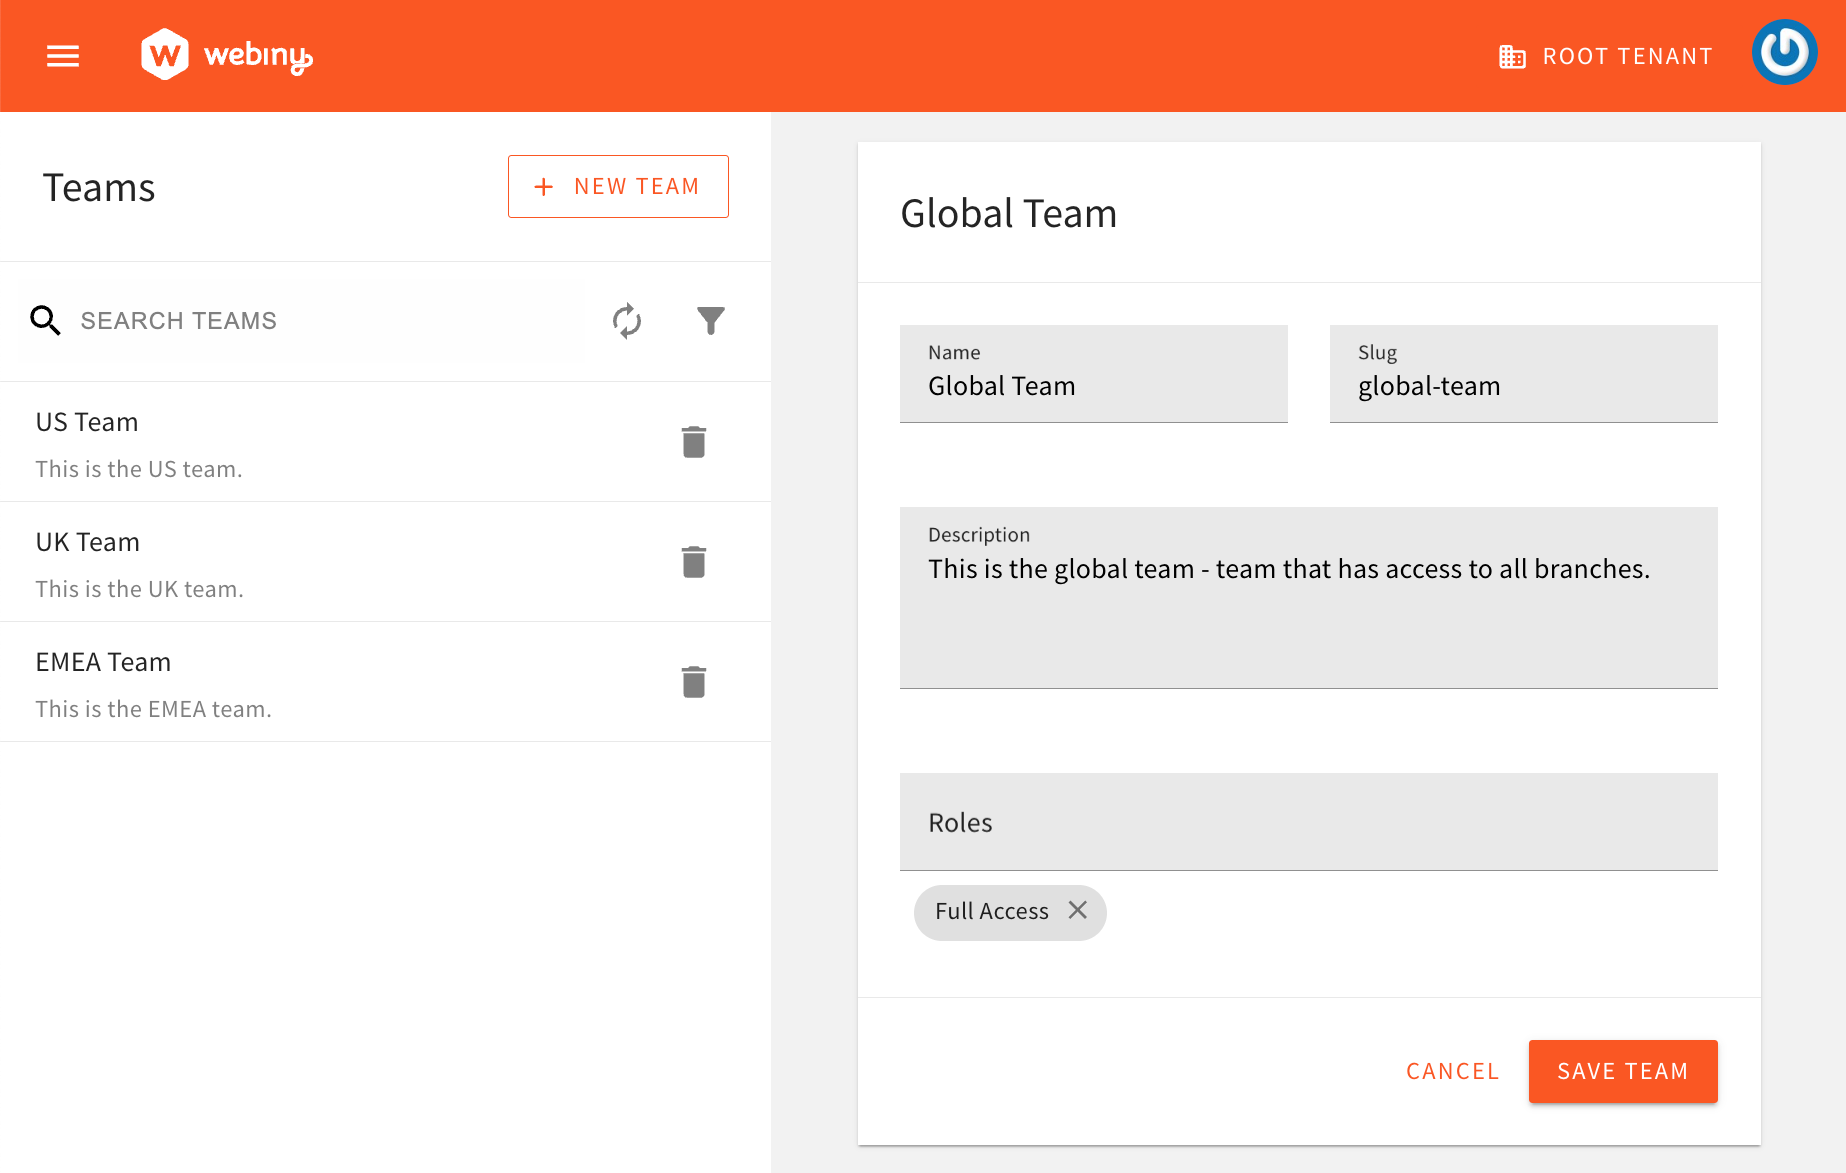 Teams Module
Note that the Teams feature is part of our enterprise offering. To learn more, please check out the Teams article.
Programmatically
And although we can get pretty far by defining roles and teams via the Admin Area, on the other hand, we can also do this programmatically, by creating a new extension. Once defined, roles and teams can be then used via the Admin Area in the same way as if they were created regularly, via the Role Editor.
Some of the benefits of this approach are:
- roles and teams get to be stored in version control
- since everything is done programmatically, in some case we may receive additional flexibility
- by default, defined roles and teams are available for all available locales and tenants
- basically, only developers have the ability to perform changes on roles and teams
In the following sections, we cover a couple of examples that show how to define roles and teams via plugins.
Getting Started
Run the following command to quickly set up the extension in your Webiny project:
yarn webiny extension roles-and-teams
Alternatively, continue reading this article to learn how to create this extension from scratch.
To get started, we first scaffold a new API extension in the /extensions/rolesAndTeams folder, via the following command:
yarn webiny extension \
	--type api \
	--name rolesAndTeams \
	--dependencies @webiny/api-serverless-cms
Once the extension is scaffolded, in order to start developing, we run the followingwebiny watch command:
yarn webiny watch api --env dev
Roles
In this example, we define a role which provides full access to Webiny’s Headless CMS application. Meaning, any user that is assigned this role will have full access to the application.
import { createSecurityRolePlugin } from "@webiny/api-serverless-cms";

export const createExtension = () => {
    return [
        createSecurityRolePlugin({
            id: "full-cms-access",
            name: "Full CMS Access",
            description: "Full access to the CMS application",
            permissions: [{ name: "cms.*" }, { name: "content.i18n" }]
        })
    ];
};
As we can see, first we define a new team via the createSecurityRolePlugin plugin factory. The following properties are required:
id- a unique identifier of the rolename- the name of the roledescription- a short description of the rolepermissions- an array of security permissions that the role provides
With this code in place, we should be able to see the following role in the Roles module:
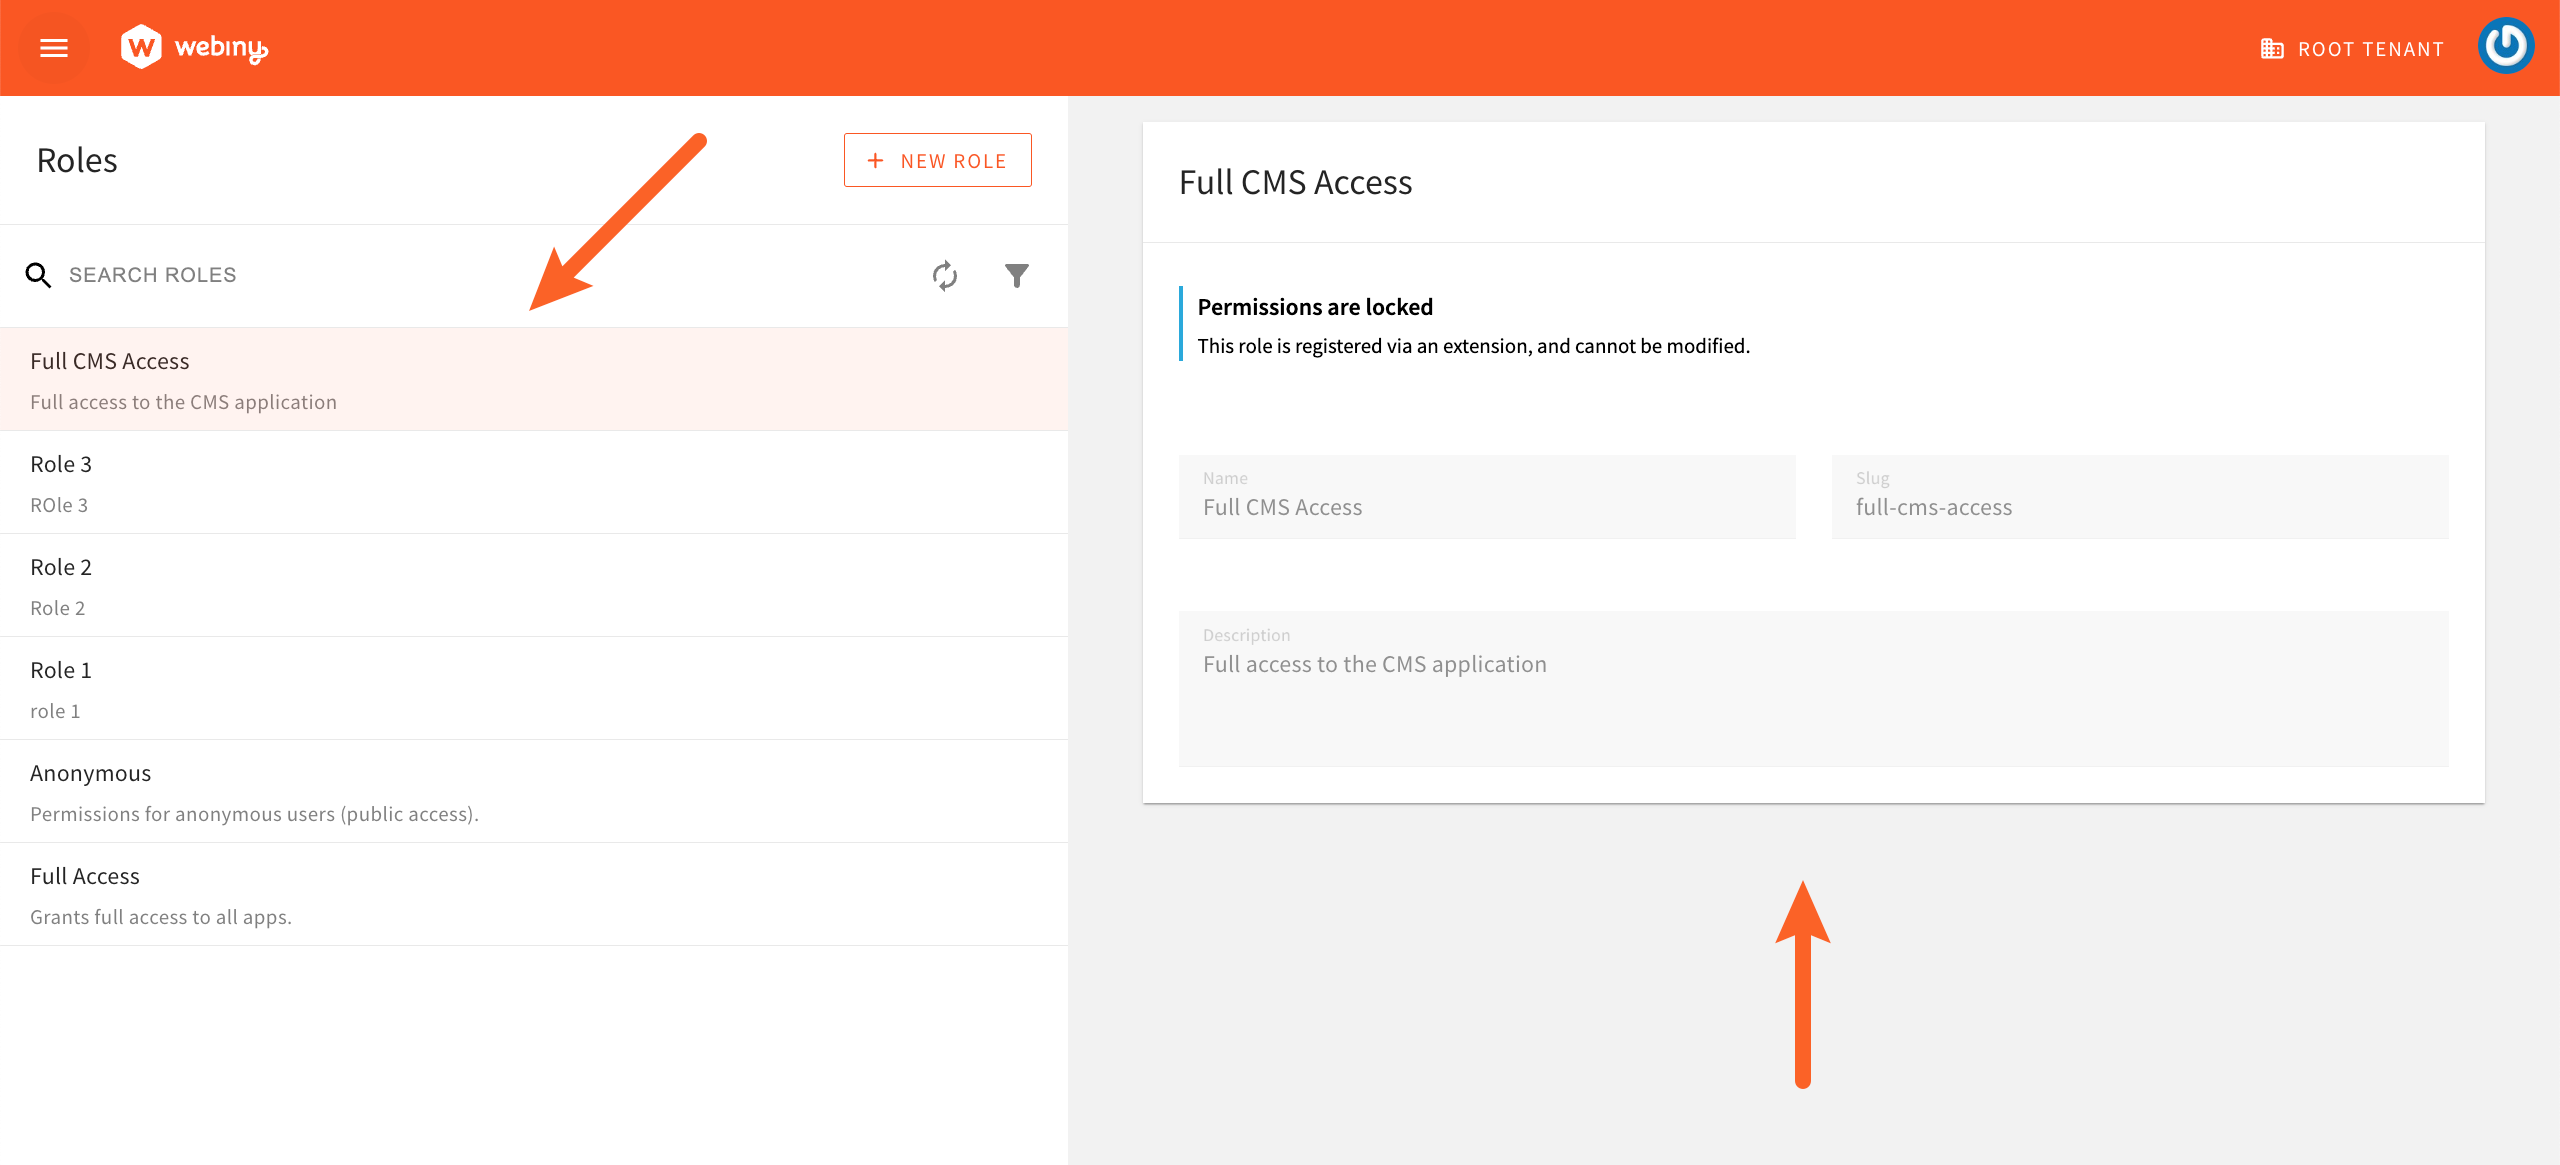 Full CMS Access Role
Defining Security Permissions
In the above example, we’ve defined a role that provides full access to the CMS application, which was achieved by assigning the cms.* permission to the role.
But what about other permissions? How do we know which permissions are available? How do we build roles with more complex permissions?
The easiest way to find out which permissions are available and to build roles with more complex permissions is to use the Permissions editor in the Roles module. Essentially, we use the editor to build a role with the desired permissions and, once we’re done, we click on the Copy Permissions as JSON button to copy the permissions to the clipboard. We can then paste the copied permissions into our code.
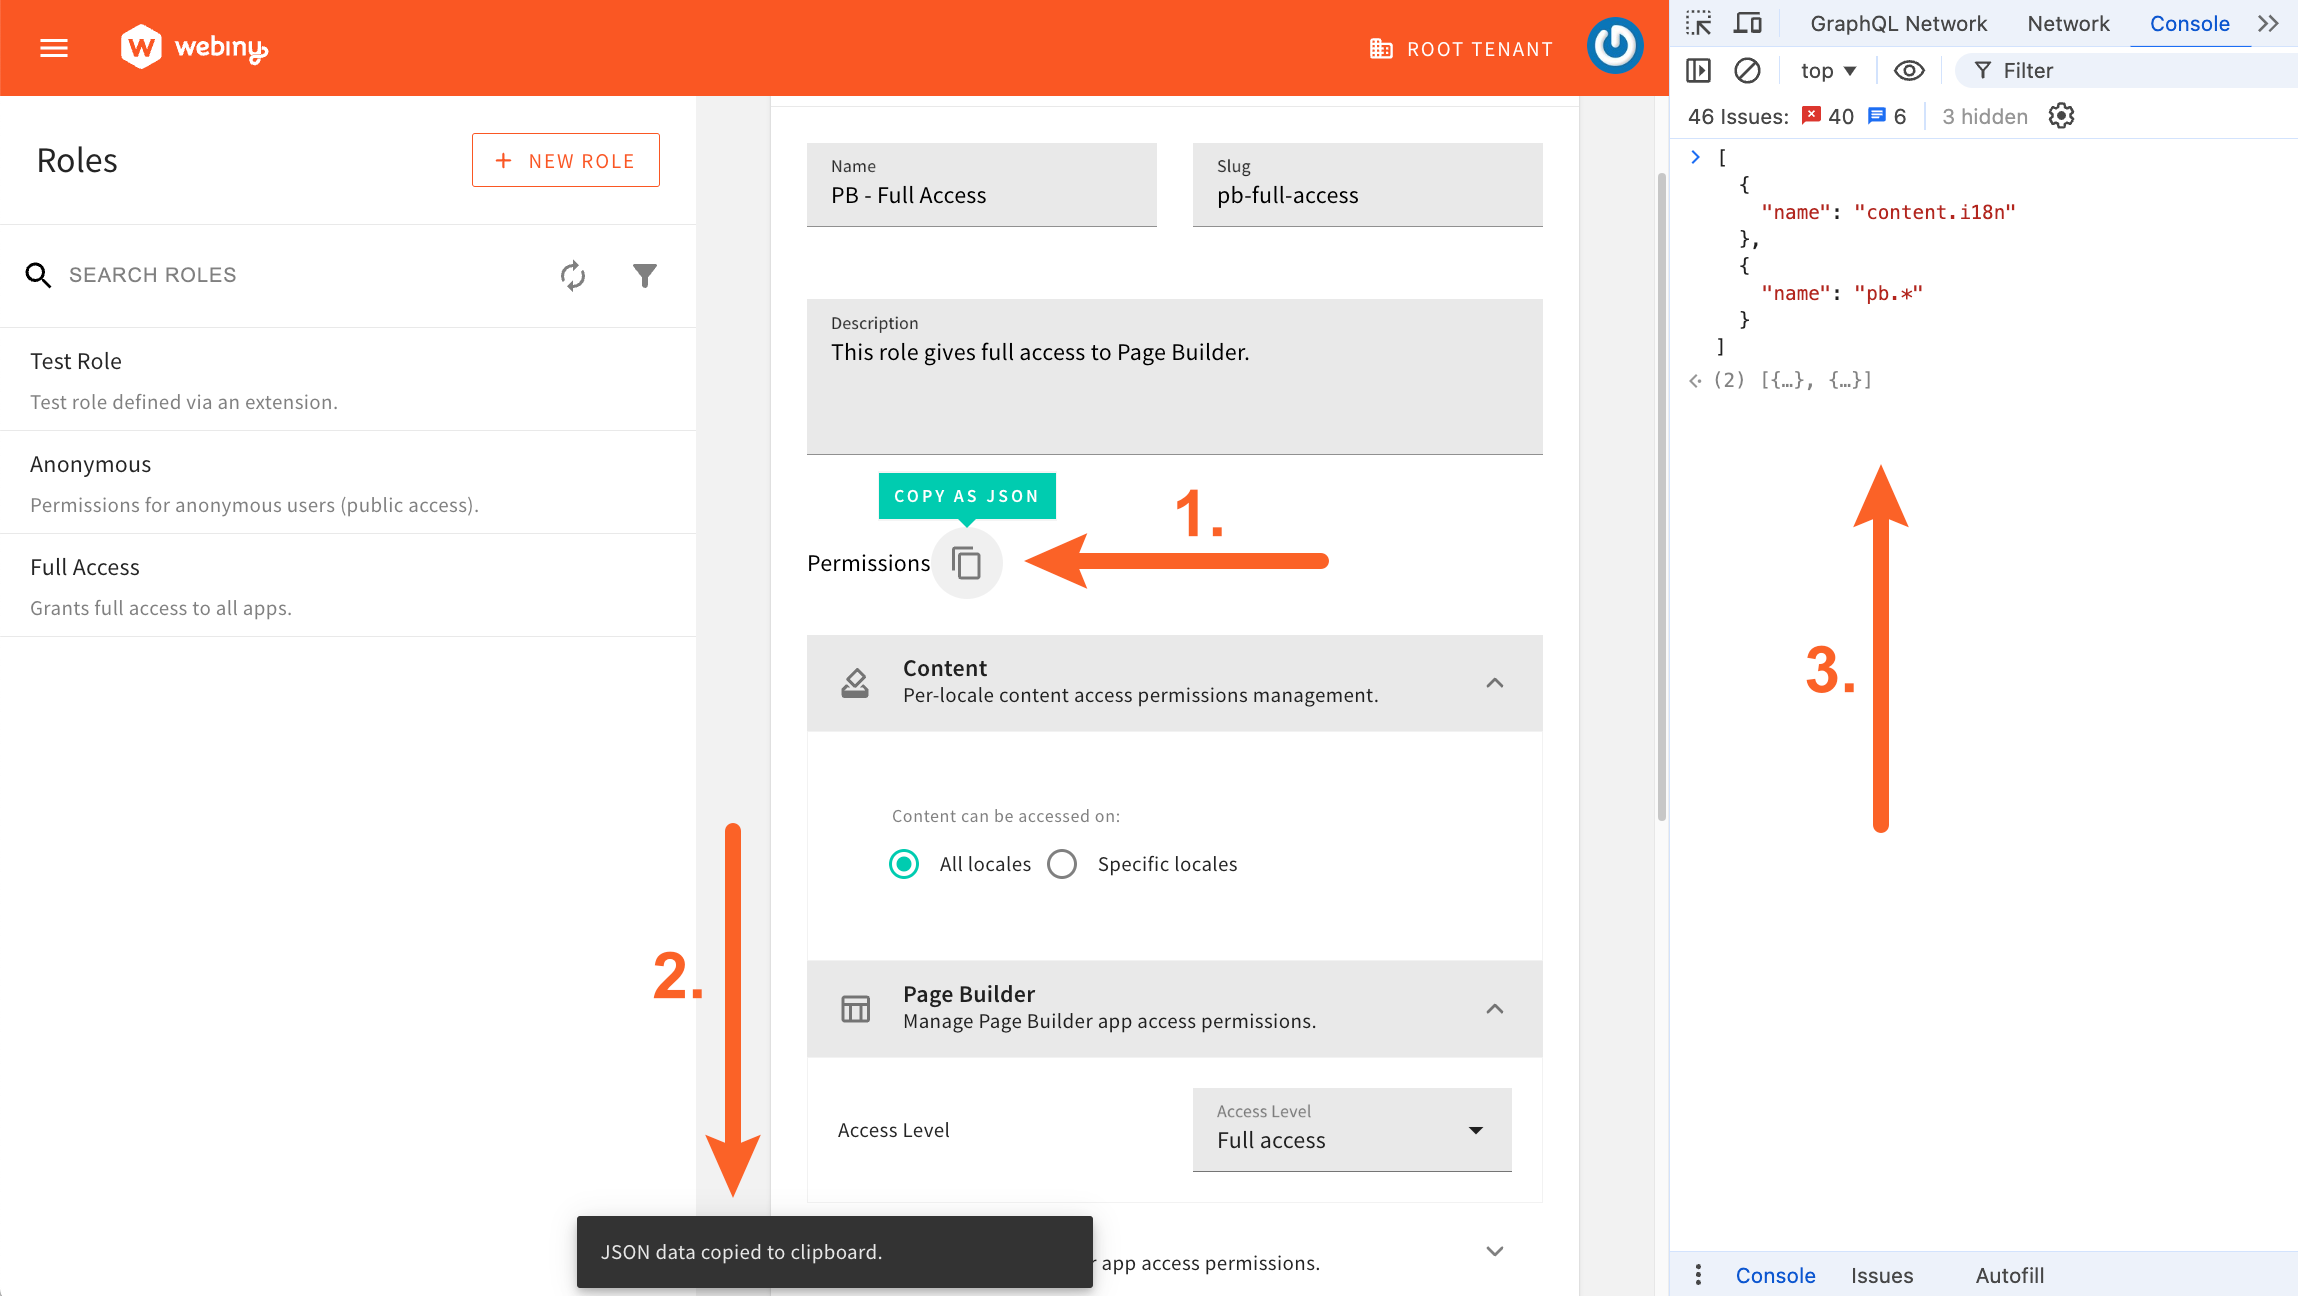 Copy Permissions Button
More info on security permissions can also be found in the Security Framework - Introduction article.
Teams
In this example, we define a new team that consists of the Full CMS Access role that we created in the Roles section.
import {
  createSecurityRolePlugin,
  createSecurityTeamPlugin }
from "@webiny/api-serverless-cms";

export const createExtension = () => {
    return [
        createSecurityRolePlugin({
            id: "full-cms-access",
            name: "Full CMS Access",
            description: "Full access to the CMS application",
            permissions: [{ name: "cms.*" }, { name: "content.i18n" }]
        }),
        createSecurityRolePlugin({
            id: "full-pb-access",
            name: "Full Page Builder",
            description: "Full access to the Page Builder application",
            permissions: [{ name: "pb.*" }, { name: "content.i18n" }]
        }),

        // Team that consists of the "Full CMS Access" and "Full Page Builder" roles.
        createSecurityTeamPlugin({
            id: "content-team",
            name: "Content Team",
            description: "Team responsible for managing content",
            roles: ["full-pb-access", "full-cms-access"]
        })
    ];
};
With this code in place, we should be able to see the following team in the Teams module:
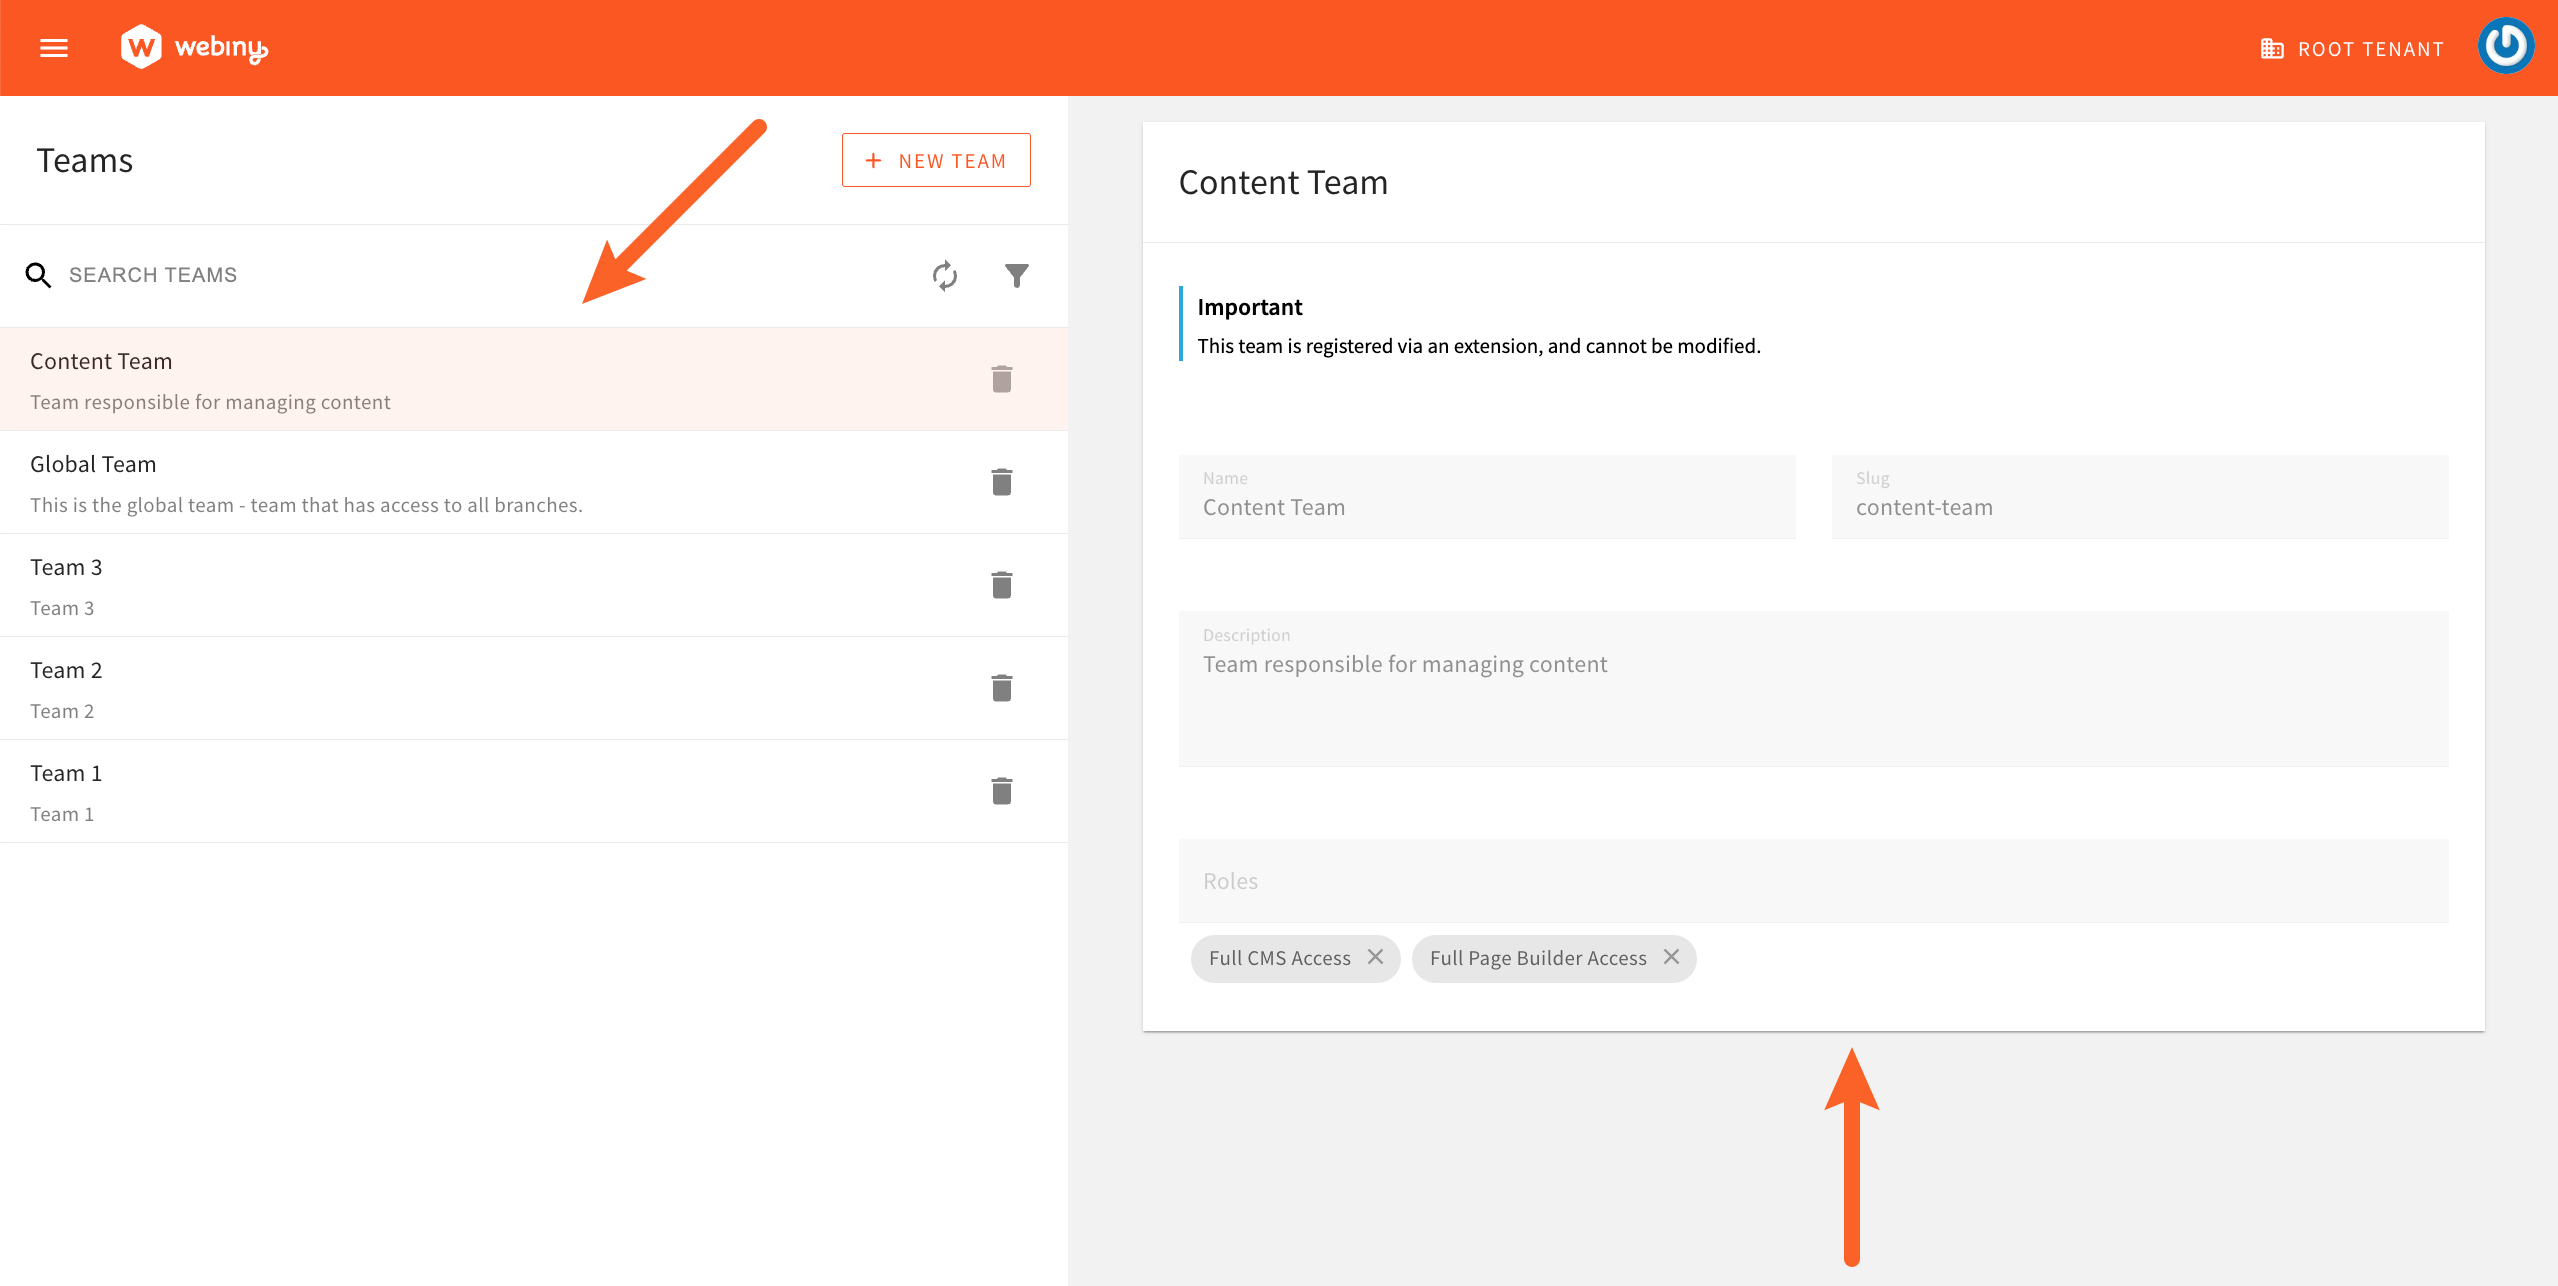 Content Team
Note that the Teams feature is part of our enterprise offering. To learn more, please check out the Teams article.
Defining Roles and Teams for Specific Tenants
By default, roles and teams are available for all available tenants. But what if we want to define roles and teams for specific tenants only?
To achieve this, we can use the tenant property, which accepts an ID of the tenant for which the role or team should be available. For example, if we wanted roles and teams to be available only for the root tenant, we would define the roles and teams like this:
import {   createSecurityRolePlugin,   createSecurityTeamPlugin } from "@webiny/api-serverless-cms";
export const createExtension = () => {  return [      createSecurityRolePlugin({          id: "full-cms-access",          name: "Full CMS Access",          description: "Full access to the CMS application",          permissions: [{ name: "cms.*" }, { name: "content.i18n" }],          tenant: "root"      }),      createSecurityRolePlugin({          id: "full-pb-access",          name: "Full Page Builder",          description: "Full access to the Page Builder application",          permissions: [{ name: "pb.*" }, { name: "content.i18n" }],          tenant: "root"      }),
      // Team that consists of the "Full CMS Access" and "Full Page Builder" roles.      createSecurityTeamPlugin({          id: "content-team",          name: "Content Team",          description: "Team responsible for managing content",          roles: ["full-pb-access", "full-cms-access"],          tenant: "root"      })  ];};