Admin Area > New App Tutorial
Admin App Scaffold
Learn how to use the Extend Admin Area scaffold.
The Extend Admin Area scaffold (previously Admin Area Package) received a major overhaul in Webiny 5.9.0. Note that this guide is not relevant for projects that are using Webiny 5.8.0 and lower.
- main features of the Extend Admin Area scaffold
- how to continue developing on top of the generated application code
Overview
The Extend Admin Area scaffold creates a new module in the Webiny Admin Area React application and extends your GraphQL API with
supporting CRUD
Note that, when we say GraphQL HTTP API, by default, we’re referring to the one deployed as part of the API project application, located within the api/graphql
Learn more about the API project application on the cloud infrastructure level in the Cloud Infrastructure key topics section.
Features
New Webiny Admin Area Module
As mentioned in the overview, the scaffold creates a new module in the Webiny Admin Area React application, which consists of the following:
- a basic CRUD view which consists of a data list and a form, enabling the user to perform basic CRUD operations
- a new route (URL) on which the CRUD view is being rendered
- a new item in the main menu, which, when clicked, redirects the user to the new route (URL)
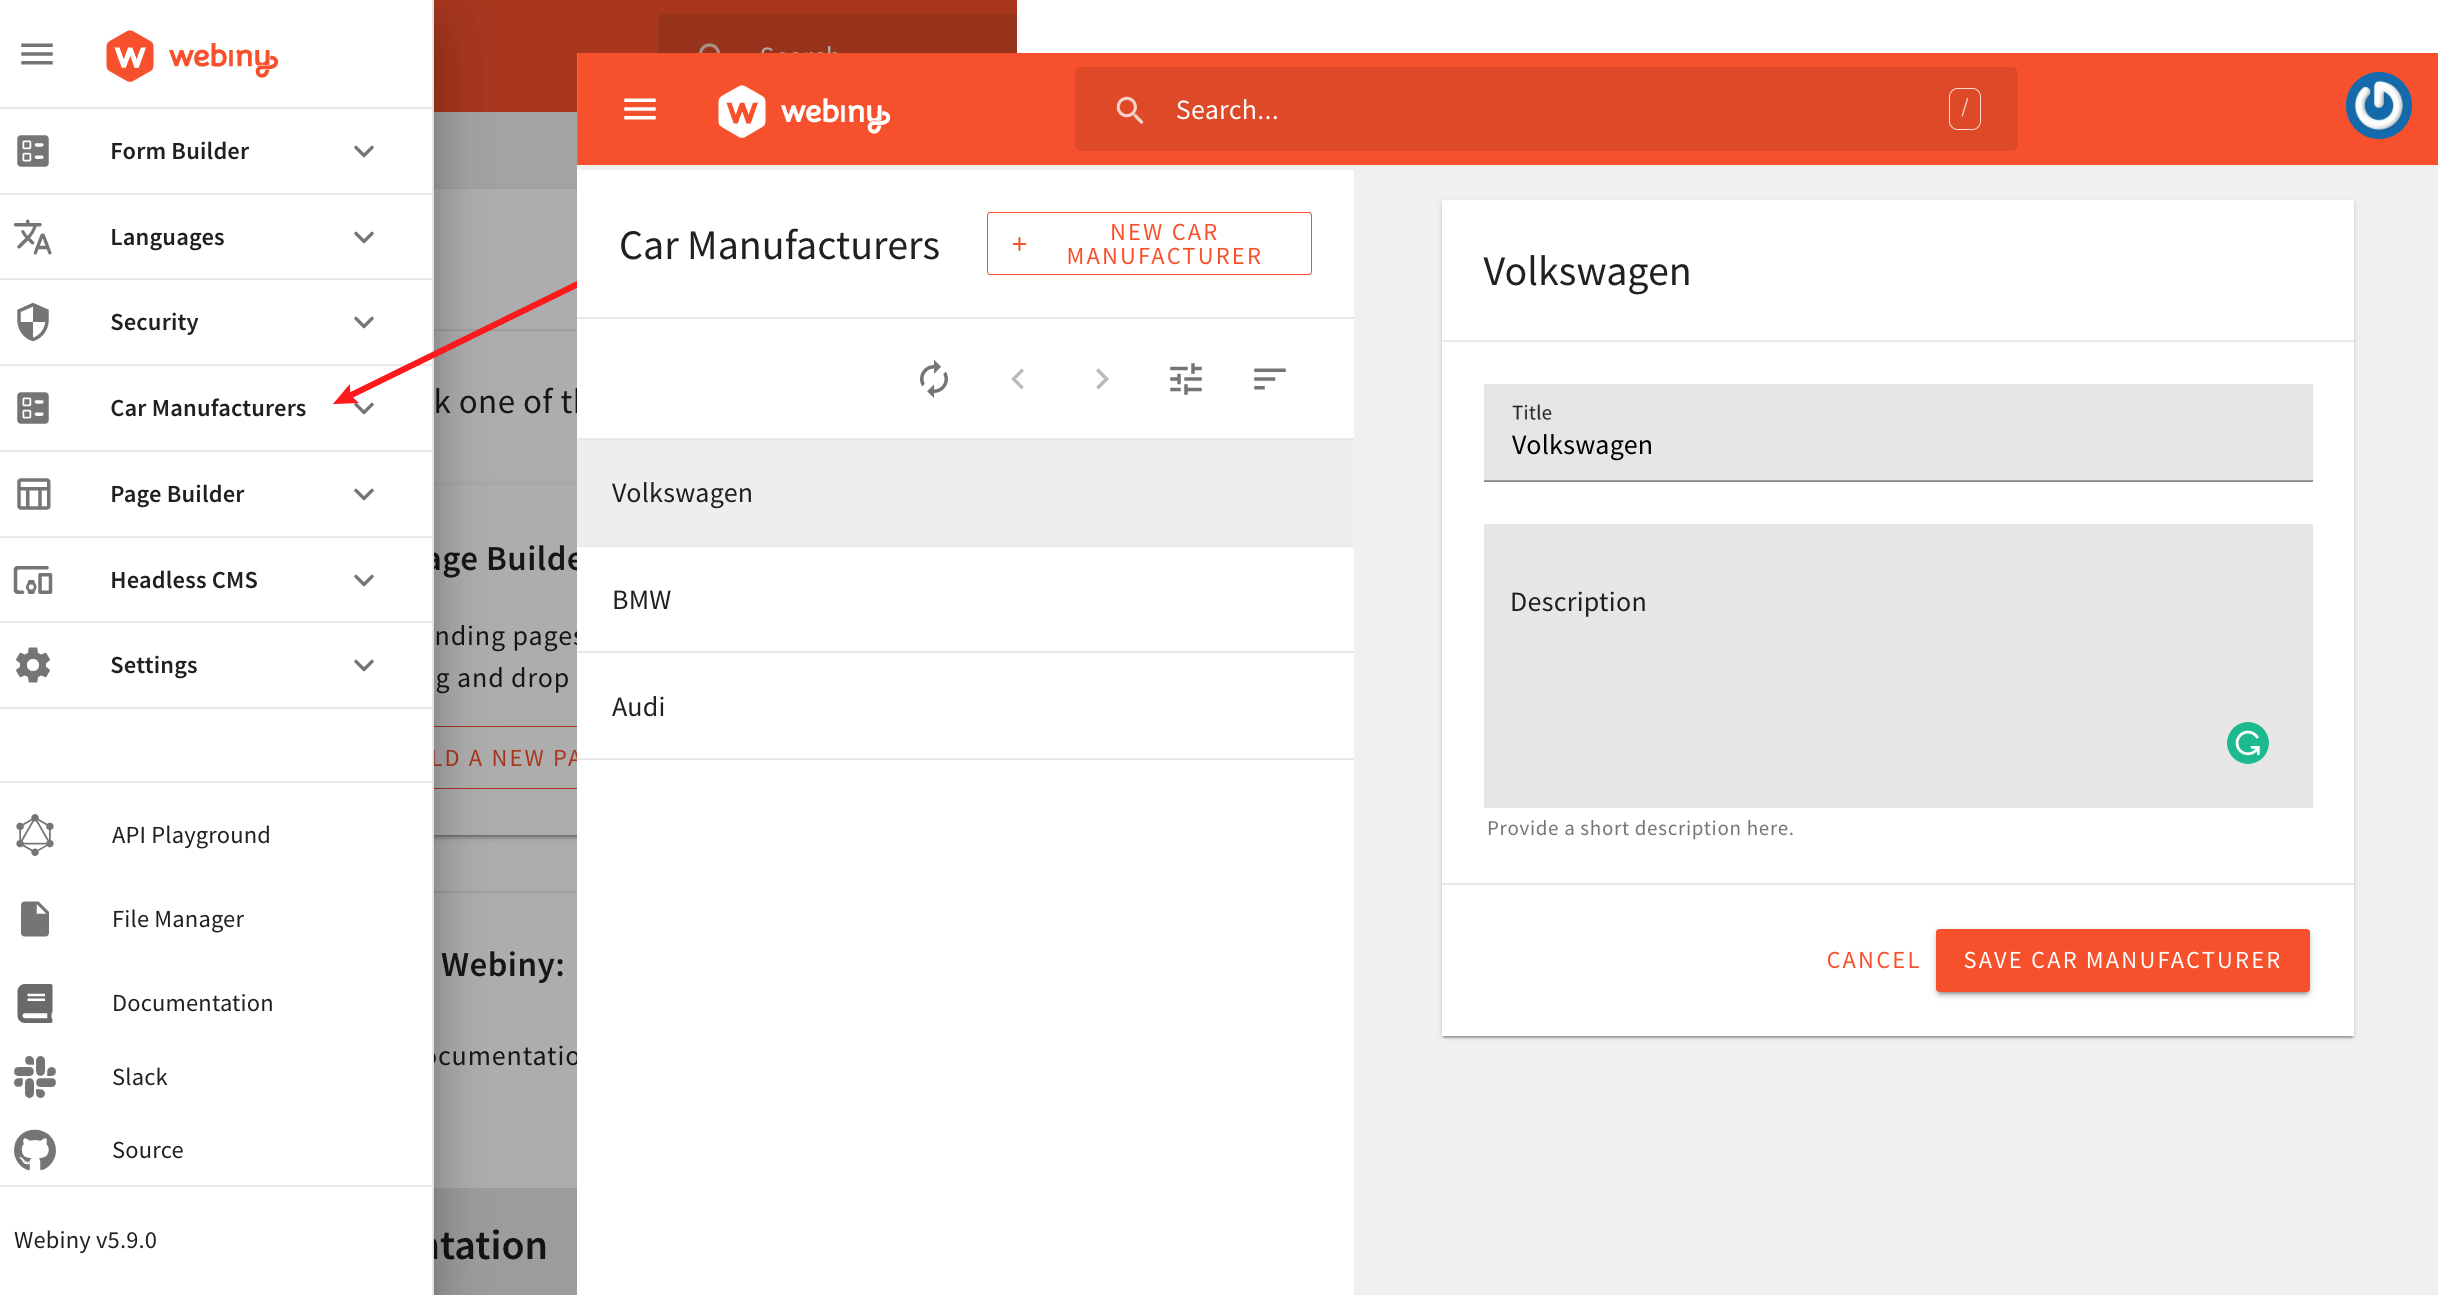
As an example, during the scaffold’s wizard, if we were to enter CarManufacturer as the initial data model name, we’d end up with the following:
- a CRUD view which lets us perform basic CRUD operations on car manufacturer entries
- a new
/car-manufacturersroute - a new Car Manufacturers item in the main menu
 New Webiny Admin Area Module
Note that initially all entries consist of two text fields: title and description. Naturally, based on your requirements, you can remove these fields or add new ones. More on this in the Development section below.
New CRUD Query and Mutation Operations
The Extend Admin Area scaffold also extends your GraphQL API with supporting query and mutation operations.
In order to do this, internally, the scaffold is simply utilizing the existing Extend GraphQL API scaffold. To learn more about its main features and how to continue developing on top of the application code it generates, please visit its dedicated guide.
Multi-Locale Support Enabled
By default, Webiny Admin Area is a multi-locale system. This means entries like pages, page categories, forms, settings, and so on, are always created for a specific locale.
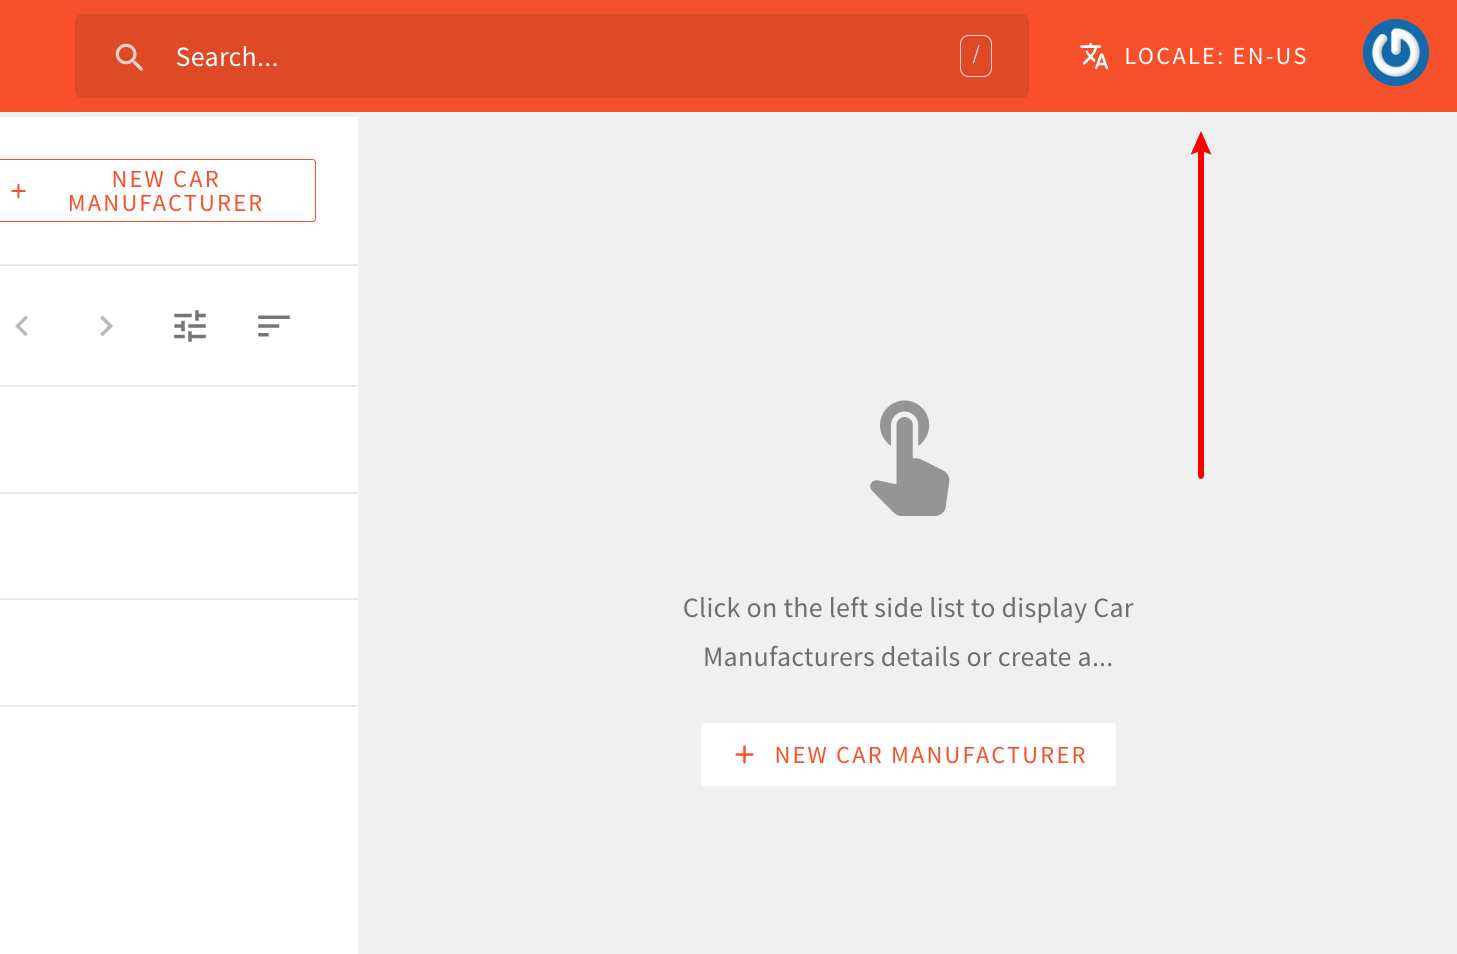
The generated application code follows the same idea and there aren’t any additional steps that you need to take in order to enable multi-locale support. By simply changing the locale via the locales selector located in top-right corner of the screen, users get to manage a completely separate set of data, only available for the selected locale.
 Locales Selector
The locales selector is visible only when there are two or more locales to choose from. Locales are created via the Languages module.
No Additional Cloud Infrastructure Resources
The scaffold does not add any additional cloud infrastructure resources. The generated application code is simply added to the existing Admin Area React application code (apps/code
Development
Usage
In order to use this scaffold, from your project root, simply run the webiny scaffold command:
Then, from the list of all available scaffolds, select Extend Admin Area and follow the on-screen instructions.
Essential Files
The following are the most essential files and folders that are generated in the scaffolding process.
By default, all of the files are generated in a new folder, located at apps/admin/src/plugins/scaffolds/{dataModelName}, for example apps/admin/src/plugins/scaffolds/carManufacturers.
This is the entry file, which exports the menus
routes
Export a single MenuPlugin
Exports a single RoutePlugin
Contains all of the React components and hooks
views/index.tsx
First Deploy
Admin Area React Application
Since the Admin Area React application can be developed locally, once you’ve completed the scaffold’s wizard, there’s no need to perform any additional deployments.
GraphQL API
Once you’ve completed the scaffold’s wizard, in order to actually see the changes made to your GraphQL API, you need to deploy them. This can be done as usual, via the webiny deploy command, or, even easier, if you’re about to jump straight into coding, by running the webiny watch command. This command will not only deploy the changes, but also start a new watch session, which will automatically redeploy further application code changes, as you perform them. More on this below.
Development Using the Watch Command
The most straightforward way to further develop on top of the generated code would be via the webiny watch command.
To get started, from your project root, you can run the following two commands.
Admin Area React Application
This command initiates a new local development server and a watch session on the Admin Area React application. In other words, the React application is running locally, and all changes are immediately visible in user’s browser as they make them.
GraphQL API
This command initiates a watch session on the GraphQL API application code and ensures that every change we perform is automatically deployed into the cloud.
Check out the Extend GraphQL API - Development section for more information on how to continue developing the supporting GraphQL API.
FAQ
How Does Security (Authentication and Authorization) Work?
Please note that, by default, the authentication and authorization logic isn’t included in the generated code.
Luckily, with a couple of built-in utilities, this can be relatively easily added. Please check out the existing tutorials to learn how to implement these on your own.
Can Webiny's Multi-Tenancy Feature Be Utilized With This Scaffold?
Yes, but do note that since multi-tenancy is part of Webiny’s enterprise offering, the relevant multi-tenancy code is not included in the generated application code.
For more information on multi-tenancy, we recommend you check out the Multi-Tenancy key topic. Also, for any implementation-related questions, feel free to contact us directly via our community Slack